Category Archives: Vegetables

Header with words, "Hello 2025" and background picture of a clock about to strike midnight.

Hi There 2025!

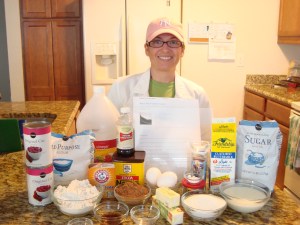
Hello Bubbly Buddies!

The new year is the time when people are ready to stop buffering and hit Ctrl-Alt-Delete on their habits. Clicking over into a fresh start, and hopefully, one that gets you to what you want. 
 
If you have been around a minute (Hi, I appreciate you!), then you have heard me talk about NOT setting New Year’s resolutions in the past.

I have been a firm believer that you should not wait to start a new healthy habit. I often start new habits on Thursdays or Fridays. If that’s when the commitment happens in my mind, I get right to it instead of waiting for a Monday.
 
After all, Jan 1 and Mondays aren’t magic days. Or… are they?
 
Let’s talk about motivation. Oh, motivation. It comes and it goes.

Many believe they should be able to maintain a motivated mindset all. the. time. But it doesn’t work that way. Sorry about that.
 
But… new beginnings = increased motivation.
And… increased motivation = more action.
And… more action = better results.
And… better results = more motivation!
 
If you rinse and repeat, this can put you in the middle of a big ole upward spiral. And that is why I changed my mind and now encourage you to set some resolutions!
 
Check out The Monday Campaigns if you want more info on this “fresh start” approach.
 
And remember, I don’t recommend setting up resolutions that are focused on NOT doing something or deprivation. Instead, add in new things and you may find the old things get crowded out on their own.
 
In other words, don’t set a resolution to never eat another cookie… you may just crumble under the pressure! #badpun.

January 1 “is the first blank page of a 365-page book. Write a good one.” – Brad Paisly.

Yours in good health,
Alexia Lewis, RD
Master’s Level Nutritionist
Registered Dietitian
Certified Health Coach

Header with words, "Hello 2025" and background picture of a clock about to strike midnight.

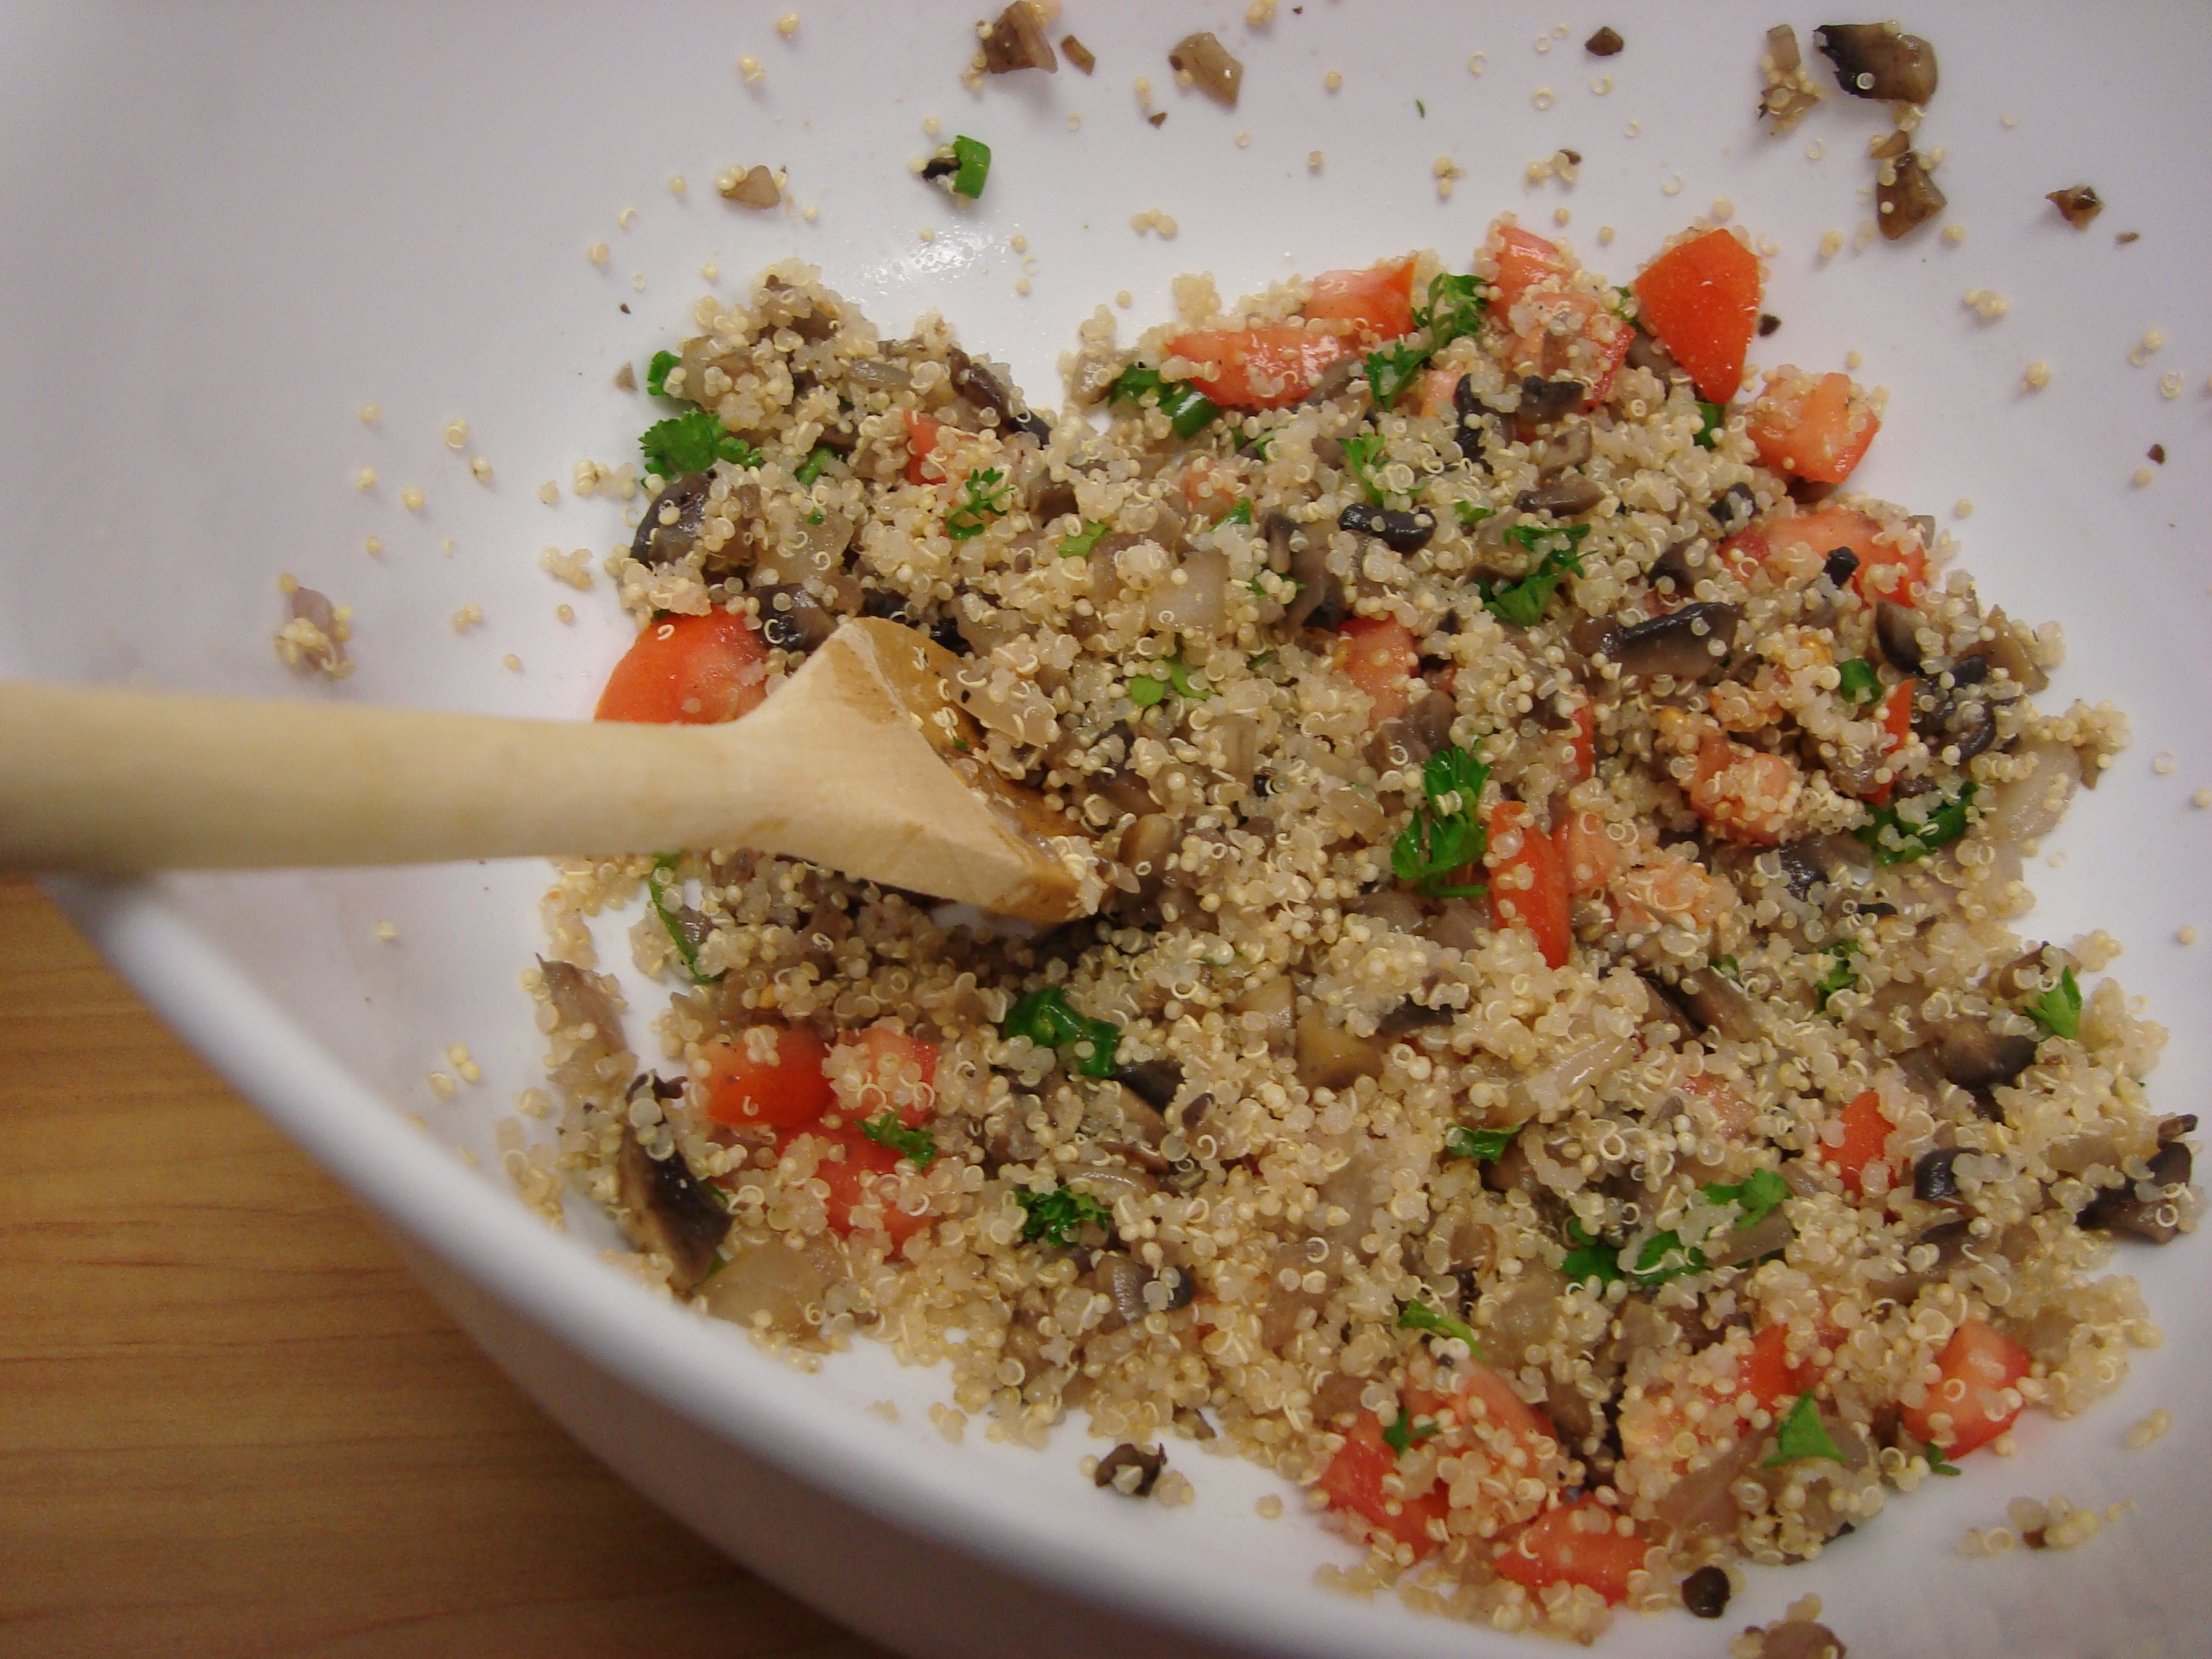
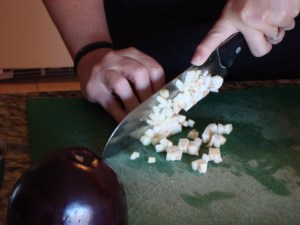
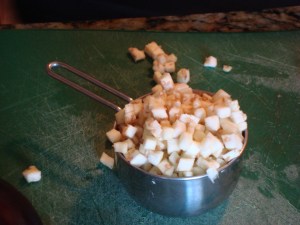
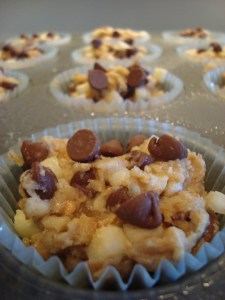
I have been getting back into Meal Prep Sundays lately and have been enjoying salads for lunch. One that has been in my rotation a lot lately is a Fall Harvest Salad. It’s not incredibly budget-friendly due to some of the ingredients, but man, is it ever delicious!
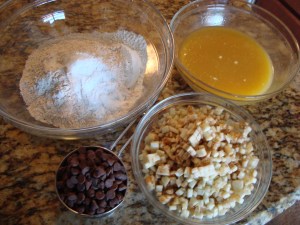
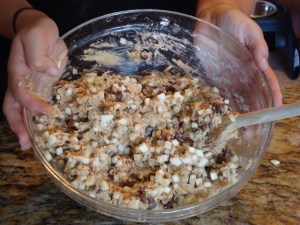
Fall Harvest Salad

Picture of the Fall Harvest Salad in a bowl.

Not a lot of measuring in this one. So, if not noted, just divide ingredients evenly among 5 containers.

  • Pomegranate arils, 8-ounce container
  • Crumbled feta cheese (light or regular), 2 Tbsp per salad
  • 2 cans of black beans, low sodium, rinsed
  • Quinoa, cooked, 1/2 cup per salad
  • 2 16-ounce bags of pre-cut Butternut squash, fresh (not frozen) and roasted in oven until soft
  • Pepitas (pumpkin seeds), 1 Tbsp per salad
  • 16-ounces (1 lb) raw Brussels sprouts, rinsed and shredded (use a food processor if you can!)

Prep by cooking the squash and quinoa. Factor in some time for this to cool down before you assemble the salads.

Layer the ingredients into your container in the order listed.

I’ve been using a Creamy Ceasar dressing (so yum) but use whatever you like – or nothing, this is full of flavor already.

Depending on your storage containers, these can last anywhere from 3-5 days. But I must tell you, to be on the safe side, the food safety rule is to toss things out after 3 days. You do you.

One of the recommendations I make for many of my patients is to add some probiotics to their diet. I’ve been talking a lot about gut health, and specifically bloating and distention.
 
Probiotics are the trillions of little guys (bacteria) that live in your gut – and this is a good thing! You may have heard of them as your gut microbiome, microbiota, or microflora. They account for 3-4 pounds of your body weight and there are over 400 strains in our guts.
 
Probiotics live in food, specifically fermented foods. Think yogurt, kefir, miso, tempeh, kimchi, sauerkraut and kombucha. Not all probiotics survive their trip through our guts, and processing (like cooking sourdough bread) kills them off. Yogurt is your best bet to get these guys where you need them.
 
There are also many supplements on the market. Supplements are the Wild West of Big Wellness (yep, I said that) and what is in that supplement bottle is a crapshoot.

If you choose this path, look for supplements that are independently verified for quality by USP, NSF, or other organizations. In other words, someone besides the seller should test it to make sure it actually has what it says it has in it… and it doesn’t have things in it that aren’t on the label (hello heavy metals). Also, check out What You Need to Know about supplements.
 
Speaking of Big Wellness, the probiotics market in the USA was over $1.2 million in 2024.
 
You will see CFUs (colony forming units) which is how the “dose” is measured. And you will likely see different types of lactobacillus and bifidobacterium on the labels. Many companies have copyrighted a unique combination of strains, which can make their supplements seem extra special. (They’re not).  
 
While probiotics can have many benefits, they do specifically impact heart health (which is my jam). They may lower total and LDL cholesterol, but it does appear this benefit is from multiple strains. Studies are providing inconsistent results for reducing body weight, so stay tuned on this one.

Antibiotics and the standard American diet (high in saturated fat, added sugar, and processed foods) can suck the life out of these little guys.
 
Finally, you should  know that there are no official dietary recommendations for probiotics. Adults and littles with specific conditions should not include these in their diets.
 
For many, grabbing a yogurt, or lactose-free yogurt, is a delicious way to support these little guys who are always hard at work supporting you. 
 
For more information:
https://ods.od.nih.gov/factsheets/Probiotics-consumer/
https://media.market.us/probiotic-statistics/

Wanna talk about probiotics or gut health with me? More ideas for meal prep salads?

Let’s do it!

Click right here to get to Alexia’s provider page, choose a date/time and start the scheduling process.

  • One of the first screens when you start will let know if your health insurance is accepted by Nourish.
  • Before you finish the booking process, you will enter your insurance information and get an estimate of the expected costs.

And, of course, you can reply to this email if you have questions or want to be hooked up with another amazing RD at Nourish. I’m happy to help! 

I believe in science, humor, and delicious food.

Heart health is my jam. I love to write and speak publicly on this topic and all aspects of living a heart-healthy lifestyle.

I believe you shouldn’t sacrifice your mental health chasing better physical health. You deserve to be both happy and healthy. You don’t have to choose just one.

I am a master’s level nutritionist who is also a registered and licensed dietitian in multiple states in the USA, a certified personal trainer, and certified health coach. I also invested in becoming a culinary nutritionist and weight management specialist. In other words, I got you boo.

Picture of Alexia
Banner with the words "Alexia Lewis. The Real Deal Nutrition" with a red heart next to it.
Kale Rolls with brown rice

We’ve Got Greens!

It’s kale cooking demonstration time! Tis the season to harvest greens and we have a lot of them from our organic Ogier Garden where I work so I decided to do a cooking demonstration showcasing our beautiful greens. Recipes included kale quinoa rolls and autumn vegetable soup.I found both of the recipes I used online (credit given with the recipes below) and I adapted them. Give these a try and let me know what you think!

Organic Greens
Organic Greens

Both of these recipes are vegan. If you are a vegetarian, I do recommend a low-fat Greek yogurt dip for the rolls to increase the protein and calorie content of this meal. Here are some suggestions for flavoring the yogurt to make a yummy dipping sauce. Click to see the image larger in a new window.

Ideas for Greek yogurt dipping sauces

To begin, find some big kale leaves (dinosaur, lacinato or Tuscan varieties) or use collard greens which typically have large leaves. The curly kale will not give you enough leaf to roll with. Here in Jacksonville, Florida, I had no luck at the conventional grocery stores; but found a nice large bunch of organic lacinato kale at Fresh Market for only $2.50!

Preparing the greens is important and for the best results, you’ll want to blanche and devein the leaves. Blanching involves cooking the leaves in boiling water for a very brief time (~2 minutes) and then plunging them into an ice bath. I’ve used both a large bowl and my sink filled with ice-water with success. Blanching will make the leaves flexible enough to roll and brighten up their color. Wait until after blanching to devein the kale so you can preserve as many nutrients as possible, then take a small knife and simply cut out the thick part of the stalk, leaving the top of the leaf intact.

Kale Rolls with brown rice

I will also be packaging the complete cooking demonstration lesson plan, recipes, hand-outs, and evaluation forms into a package that will be available for purchase so you can take the work out of preparing for a cooking demonstration and just do the fun parts! Details will be posted soon.

Quinoa Filling
Quinoa Filling

                      Kale Roll Ups

Recipe adapted from Gooseberry Mooseberry

http://www.gooseberrymooseberry.com/2012/07/stuffed-kale-rolls-dolma.html

By Alexia Lewis, RD, Wellness Dietitian

Ingredients

  • 25 kale leaves, preferably dinosaur kale (large leaves)
  • 1 1/2 cup cooked quinoa
  • 1/2 cup red onion, finely chopped
  • 8 oz white button mushrooms, finely chopped
  • 1 tomato, chopped
  • 2 Tbsp parsley, chopped
  • 1 Tbsp chives or scallions, chopped
  • 1 Tbsp lemon juice
  • 2 Tbsp canola oil, divided
  • salt and pepper to taste

Directions

Prepare Kale

  1. Bring a large pot of water to a boil
  2. Wash kale leaves thoroughly
  3. Add leaves to boiling water and blanch until softened and flexible, about 2 minutes
  4. Drain and rinse under cold water and pat dry
  5. Remove about 2-3 inches of the thick middle stem from each leaf

This step can be done ahead of time. If not using kale immediately, after cooking, pat leaves dry to remove excess water, wrap all leaves gently in a paper towel, and seal in a plastic bag with air squeezed out in the refrigerator for up to 3 days.

 Prepare Stuffing

  1. Heat 1 tbsp canola oil in pan over medium heat
  2. Add onion and cook, stirring frequently, 2-3 minutes
  3. Add mushrooms and cook about 8 minutes, until the water the mushrooms give off has evaporated
  4. Remove pan from heat and let cool
  5. In a large bowl, combine cooked quinoa, cooled mushroom mixture, tomato, parsley, chives, lemon juice, and the remaining 1 tbsp canola oil. Season to taste with salt and pepper.
  6. Cover and set aside

This step can also be done ahead of time. Store covered in refrigerator for up to 3 days.

Make Rolls

  1. Place one kale leaf vein-side down and put 1-2 level tablespoons of the filling in middle of leaf
  2. Fold the leaf from the bottom over the filling
  3. Tuck one side of the leaf over (the other side will remain open)
  4. Roll the leaf into a tight roll and place on plate/platter with edge of the leaf under the roll to keep roll from unrolling
  5. Repeat with remaining rolls

These can be served warm or chilled and can be kept up to 3 days in the refrigerator. If any of the previous steps were done ahead of time, subtract the number of days those ingredients were already stored from the number of storage days.

Makes approximately 20 servings (1 roll per serving): 47 calories, 1.8 g fat (0.1 g sat, 0 g trans, 0.5 g poly, 0.9 g mono), 0 g cholesterol, 15 mg sodium, 202 mg potassium, 6.5 g carbohydrate, 1 g fiber, 2 g protein.

                      Autumn Vegetable Soup

Recipe adapted from Clean Eating Magazine

http://www.cleaneatingmag.com/Recipes/Recipe/Black-Eyed-Pea-Stew-with-Collard-Greens-Potatoes.aspx

By Alexia Lewis, RD, Wellness Dietitian

 Ingredients

  • 6 cups low-sodium vegetable broth
  • 6 cups water
  • 8 cups kale or other greens, chopped
  • 3 large tomatoes, beefsteak or vine, diced
  • 1 medium butternut squash, diced
  • 1 can black-eyed peas, low sodium, rinsed
  • Salt and pepper to taste

Directions:

  1. Bring broth and water to boil in large pan over high heat
  2. Add kale, reduce heat, cover and simmer for 10-15 minutes
  3. Add tomatoes and butternut squash, cover and simmer until squash is tender, about 15 minutes
  4. Stir in black-eyed peas, cover and simmer about 2 minutes
  5. Season with salt and pepper to taste

Makes approximately 20 servings (1 cup per serving): 70 calories, 0.5 g fat, 0 g cholesterol, 220 mg sodium, 373 mg potassium, 15 g carbohydrate, 3 g fiber, 3 g protein

Muffins Ready for Baking

Veggies In Dessert – Eggplant Chocolate Chip Muffins

If you missed my segment on First Coast Living, you can watch me talk about Veggies in Desserts by choosing the tab for Food (click the right arrow to see more tabs) and then scrolling  to Wednesday September 26th UNF Nutrition.

I showcased three desserts during this segment: Red Velvet Beet Cupcakes (see previous blog post), Eggplant Chocolate Chip Muffins, and Black Bean Brownies. As I mentioned, none of these recipes were my creation and you can find them at these links:

Red Velvet Beet Cupcakes

Eggplant Chocolate Chip Muffins

Black Bean Brownies

The main points from my segment were:

1. Add vegetables to your day in any way you can!

Americans do not eat enough vegetables. The recommended amount for generally healthy adults is 2-3 cups per day and data shows we are eating 1.5-1.8 cups/day (2004 NHANES)! Sneaking vegetables into desserts can help us to baby-step our way towards the recommended daily amount – remember, it’s still dessert so it won’t get you all the way there!

2. Use vegetables to increase the nutritional content of your favorite desserts by reducing calories and fat, increasing fiber, and adding vitamins.

3. Methods (not covered in segment)

If using a puree, replace half of the fat with the puree. If it’s a liquid fat (oil) use 3/4 the amount that you are replacing and if it’s a solid fat (butter), use 1/2 the amount you are replacing. Reduce the oven temperature or check sooner than the recipe calls for or it might over-bake.

If using chopped vegetables, some have a high water content so you may need to reduce the other liquids in the recipe.

Now, on to my favorite of the three recipes – the eggplant chocolate chip muffins!

Start by making sure you have all the ingredients you will need on hand.

Ingredients for Eggplant Chocolate Chip Muffins

Next, figure out how to chop that eggplant! Here’s a suggestion, start by cutting into smaller sections with straight edges so the vegetable will sit flat when you start chopping.

How to Chop Eggplant

Now, peel the eggplant. Honestly, when I make my second batch of these muffins today (yes, they are that good!) I will not peel the eggplant and see how that goes… but the recipe called for peeling, so I did.

How to Chop Eggplant

Finally, chop the section in half (again to give you a flat edge for safer chopping) and make smaller and smaller cuts. These pictures show going from the whole section, to half the section, to slices, to matchsticks, to a small chop.

How to Chop Eggplant

How to Chop Eggplant

How to Chop Eggplant

How to Chop Eggplant

How to Chop Eggplant

Finally - Chopped Eggplant!
Finally – Chopped Eggplant!

Moving on to the other ingredients, you will end up with four bowls of goodies. Top left is the flour mixture, top right is the butter mixture, bottom left is the chocolate chips, and bottom right is the chopped eggplant.

Ingredients Ready to Mix

The beautiful thing about making muffins is that it is so easy! Simply make a well in your flour mixture (dry ingredients) and add your liquid ingredients. Be careful how much mixing you do! Gluten develops quickly once liquid is added to flour so you want to mix as LITTLE as possible while still combining the ingredients so there are NO DRY SPOTS of flour. Then fold in the extras (chips and eggplant) and mix just enough to distribute those extras throughout the batter. The mixture should be lumpy!

The Perfect Muffin Batter is LUMPY!

This recipe yields 24 muffins. Here they are before going in the oven

Muffins Ready for Baking

And after! YUM!

Eggplant Chocolate Chip Muffins

Compared to store-bought chocolate chip muffins, these have 50 less calories, 4 grams less fat, double the fiber, and we’ve added vitamins A and C.

Per muffin:

Calories 180
Carbohydrates (g) 26
Protein (g) 3
Fat (g) 8
Sat Fat (g) 3
Trans (g) 0
Cholesterol (mg) 30
Sodium (mg) 170
Fiber (g) 2.1
Vitamin A 3%
Vitamin C 7%
Calcium 2%
Iron 4%

Original publication date: September 30, 2012 at http://newmotivationcoaching.blogspot.com.

Cooked Cupcake - Look at that Grain!!

Veggies in Dessert – Red Velvet Beet Cupcakes

Did you know it’s “Fruits and Veggies – More Matters” month?

I’m doing a media spot this month and decided to focus on sneaking in more vegetables by using them to create desserts. My first adventure in the kitchen was red velvet cupcakes made with beets. I’m happy to report no red stains anywhere in my kitchen from the beets!

The recipe is from: http://www.dominosugar.com/recipe/beet-red-velvet-cake-7560 with no alterations. I did add store-bought cream cheese icing because making these cupcakes – which is more like making cake than muffins – was enough for one day.

Lab coat, check. Hair back, check. Hands washed, check. All ingredients on hand and measured, check. And we are ready to go!

Ready to Bake!
Ready to Bake!


Step 1: Cream sugar and butter. Note that a husband with strong hands is helpful for this step!

Creamed Butter and Sugar
Creaming Butter and Sugar is Easiest with a Fork


Step 2: Add eggs

Egg in Creamed Butter and Sugar

Other bowls of goodness ready. Note that if you don’t have a sifter, you can use a wire mesh strainer. I did this and it sifted beautifully. Top left: flour mixture. Top right: sugar, butter, eggs mixture. Bottom left: buttermilk mixture. Bottom right: pureed beets – pretty!

Ingredients for Red Velvet Beet Cupcakes Ready for Mixing!


Once mixed together = big bowl of batter and a wooden spoon that will probably always be slightly reddish…

Red Velvet Beet Cupcake Batter


The recipe does indeed make 24 cupcakes

Ready to go in the oven

These have a nice moistness and grain but are not as red as conventional red velvet cake (even with sneaking a few drops of red food coloring in the batter…shhh!)

Cooked Cupcake - Look at that Grain!!
Cooked Cupcake – Look at that Grain!!

And the final product with the icing, which I will be bringing into work tomorrow to share!

Red Velvet Beet Cupcake with Icing


These are husband-approved, so you know they must be good, and they sneak in a vegetable that many people dislike in it’s pure form. Simply by making the vegetable into a puree, you can add beets to your diet! Next is the nutrition information as compared to a store-bought mix for red velvet cupcakes. The rows in pink are where the biggest nutritional changes are seen.

Red Velvet Beet Cupcake Nutrition Info

Original publication date: September 16, 2012 at http://newmotivationcoaching.blogspot.com.